
How to activate Okta
First: Set up your Okta account and add Okta Verify to your mobile device
On your first day, you will find an email from Okta on your personal email account. This email includes a link to your Sourcegraph Okta sign-in page and your username (your Sourcegraph email address). You need this information to set up your account.
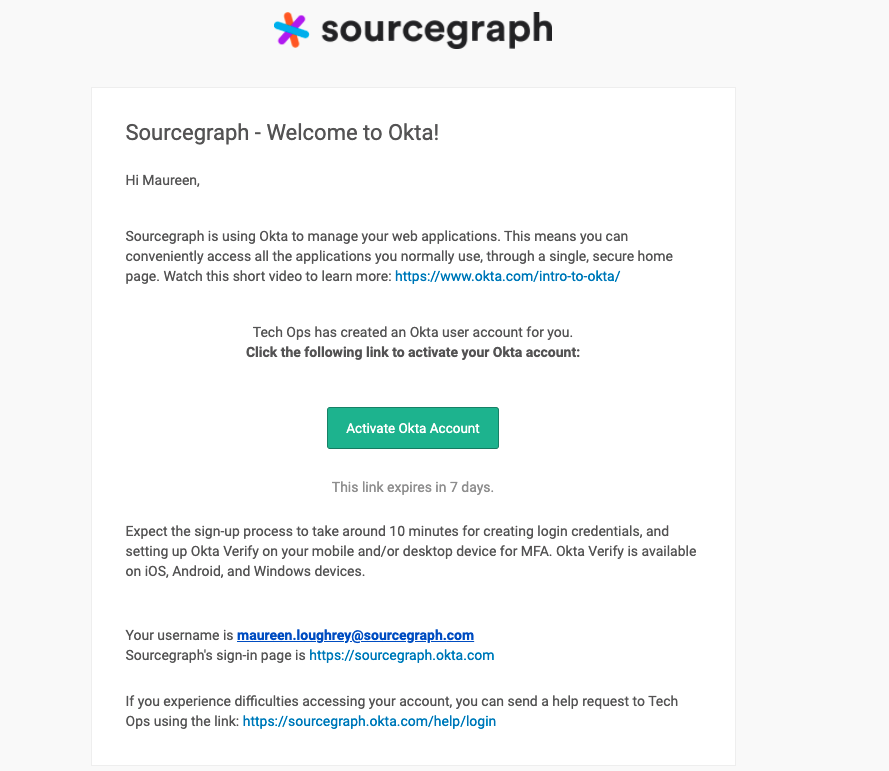
- Open your Okta Welcome Email in a web browser on a computer and select “Activate Okta Account”.
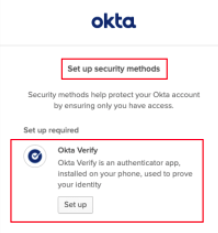
- Enter your username (your Sourcegraph email address) and create a login password. You will be prompted to set up Okta Verify on your mobile device.
- Click “Set up”.
- Select your device type and click “Next”.
- On your device, download Okta Verify from the App or Google Play Store and install it.
Open Okta Verify and follow the instructions.
- Tap “Add Account”.
- Choose the type of account to add - for Okta Verify, choose Organization.
- Organization: Add a multifactor authentication (MFA) account for your work, school, or business that uses Okta as an authentication provider.
- Tap “Scan a QR code” and point your camera at the QR code displayed in the browser on your computer. Note: this can be done using the Okta Verify app on your laptop as well.
- If prompted, allow push notifications on your device so that you can approve future sign-in notifications without opening the Okta Verify app.
- If prompted, enable Face ID or Touch ID.
- Tap Done to complete the account enrollment.
Your new account is now available in the Okta Verify app.
Second: Make sure your device is enrolled in Jamf
After setting up your Okta password you may need to enroll your Sourcegraph laptop in our endpoint management system, Jamf. If your device was purchased by Sourcegraph, when booting up your machine you will be prompted with a Remote Management screen. This will kick off the Jamf enrollment process and no further action is needed.
If you have purchased and expensed your Sourcegraph Laptop, you will need to reach out in the #ask-it-tech-ops Slack channel to get an email invitation to join Jamf.
Third: Open the Okta Dashboard
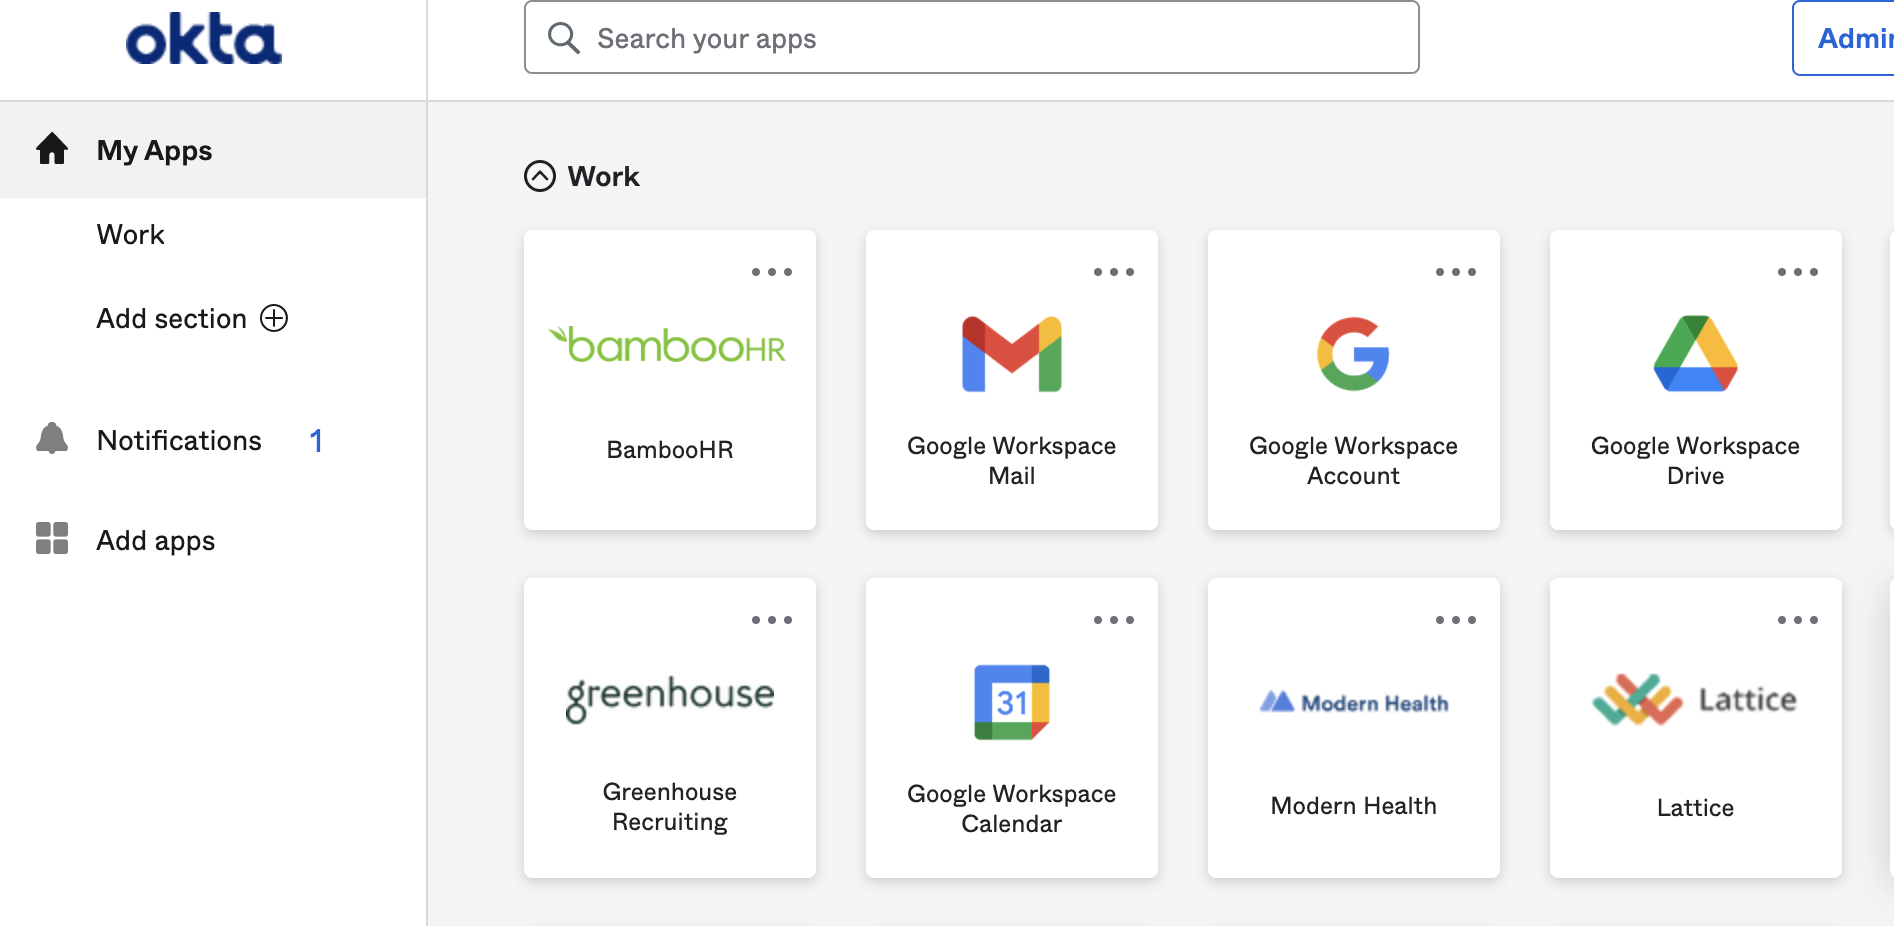
Once signed in to your Okta Account, you will be taken to the Apps Dashboard (shown below). You can access your Sourcegraph Google Workspace Account (to view your Sourcegraph email inbox) and other assigned applications from this page.
Fourth: Set up Okta Verify on your computer
- Download the Okta Verify app from the Jamf Self Service application
- Open Finder > go to Applications > double click ‘Self Service’ > click install on the Okta Verify app
- Open Okta Verify on your computer
- Click Add an Account
- Enter our sign-in URL, sourcegraph.okta.com
- It should open a web page for you to continue logging in
- Once logged in, you should now see the Okta Verify window asking you to set up Touch ID. Do so, if you’d like to use it.
- The account will get added and you’ll see the Okta user entry for it in the Okta Verify app ‘home screen’
- Once you see your account on the Okta Verify app home screen, this is complete!
Fifth: Add a Phishing Resistant Multi Factor Authentication to your Okta account
- Log in to your Okta dashboard
- Click your name in the upper right, then click settings
- Under the Security Methods window, on the right, go to the Security Key or Biometric section
- Click Set Up/Set Up Another
- Follow the prompts to add your mfa of choice
Do you have any questions? Please email tech-ops@sourcegraph.com or Slack #ask-it-tech-ops.
Please remember to log in to Process St and use your onboarding checklist, you can find the direct link in the Welcome email sent the Friday before your first day.